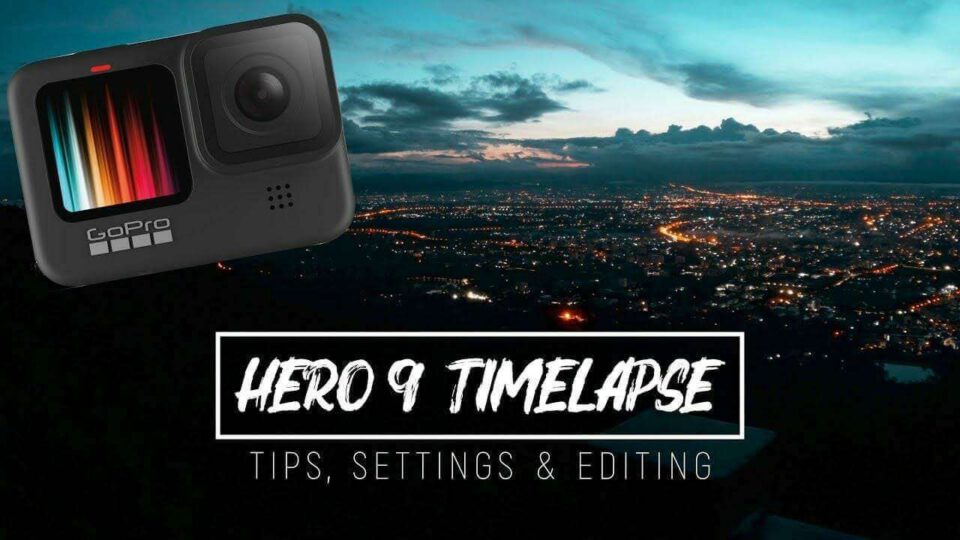
Did you ever consider using your GoPro to shoot time-lapses? If not, you should definitely do it as GoPro cameras can get you pretty good results.
Especially the GoPro Hero 9 is great for that because it can shoot 20MP raw photos. Having this resolution allows for animation in post and it helps to capture more details in landscape time-lapses.
But how can you do it exactly? In this post, I will give you my best tips to capture amazing time-lapses with your GoPro Hero 9.
Settings
Time-lapse Mode
At first, you want to set your GoPro Hero 9 to time-lapse mode. You simply do that by swiping from the left to right on the screen. There you find 3 options: TimeWarp, Time Lapse, and Night Lapse.
TimeWarp is intended for hyper-lapses. It creates a video file, so you don’t get the full 20MP resolution, but therefore it’s already. We’re not talking about this mode in this post because hyperlapses are a bit different than static time-lapses.
The modes that are interesting for us are time-lapse and night-lapse. Both modes work very similarly and the settings are identical. The night lapse mode just focuses more on lowering the shutter speed to expose correctly.
So if you want to shoot time-lapses in the night, sunset or day to night, the night-lapse mode is the correct one. It can also help when you use nd-filters over the day to capture motion blur in your time-lapse.
Time-lapse Settings Menu
After choosing the time-lapse or night-lapse mode, you can make further adjustments.
Here are the settings I use:
Lens: Wide
Setting the lens to wide ensures that you capture all pixels from the sensor. If you use anything else, the GoPro crops in and you lose quality.
Format: Photo
The format setting is important to set to photo because capturing single raw photos gives you the highest quality and again captures all available pixels from the sensor. If you set it to video, you save a bit of time in post-processing but you lose quality and flexibility when it comes to animations in post.
Interval: Depends on the conditions
For intervals, I recommend 5-10 seconds under daylight conditions. For night or day to night time-lapses set it to at least 15, better 30 seconds or more. That gives the GoPro the option to lower the shutter speed quite a lot, which leads to better exposure with the lowest amount of noise.
Shutter: Auto
Setting the shutter to auto works fine with GoPro cameras as they do a very good job adjusting the exposure without causing much flicker.
Output: Raw
Output: Raw ensures that you shoot raw photos, which gives you bigger files but the very best quality this camera can produce.
Zoom: 1x (important!)
Never change the zoom setting, doesn’t matter if time-lapse, video or photo. You can still crop in the post if you want a tighter frame.
EV Comp: 0 to -2, depending on the conditions
The EV Compensation depends on the conditions. 0 or -0.5 is good if the midtones (buildings etc.) should be well exposed. Lower levels, like -1 or -2 are good if you want to expose for the sky. With higher settings, the sky will easily get too bright.
White Balance: Depends on the conditions
Set the white balance depending on the light. 5500K for normal daylight and 6500K for cloudy days. It’s generally better to set it manually than having it set to auto.
ISO Min: 100 & ISO Max: 100
Keep the ISO settings to 100 to avoid noise. You want to force the GoPro to expose via shutter speed and not via ISO. Only this way you get the best image quality.
Sharpness: Low (Medium for GoPro models until Hero 8)
On previous GoPro generations, the ideal sharpness setting was medium. With the Hero 9 that changed and you should set it too low. I think because of the higher resolution, it just looks too sharp in the medium setting.
Color: Flat
As you shoot raw photos, this setting is not that important. You can still make changes to the photos later. But I prefer to as much of the dynamic range I can cover with the camera to set my exposure (EV Comp) right. So by using flat, that works a bit easier.
Spot Metering
You can also use a technique called “Spot Metering” to set your exposure dynamically while shooting the time-lapse. Just press on the part of the screen that should always be well exposed for about 2 seconds and a square appears on the screen.
Now you can press again for locked exposure, in case you don’t want the exposure to automatically adjust. But in most cases, it’s best to just leave it at auto exposure. Then you can be sure that your chosen part of the screen is always well exposed.
This technique is especially useful for day-to-night or night-to-day time lapses. You can simply set the spot meter square to the buildings or landscape and then use the EV Comp setting to get the exposure right. If you do it like that, the buildings of a city, for example, are always perfectly exposed in both the night and over the day.
Tips to capture the best GoPro Time-lapses
Having the right settings is important, but not everything. So here are some more tips to get the best results when shooting your GoPro Hero 9 time-lapses.
Sun Surveyor App
Time-lapses of the sunrise, especially with a transition from night to day are nice to watch and a lot of fun to shoot. But how do you know exactly where to point the camera in the night?
The Sun Surveyor app solves this problem. This is an app that uses the geo features and camera of your phone to show you exactly where the sun will go up. So you can plan the framing of your time-lapse perfectly. It costs about 10 bucks, but considering how easy it makes shooting your time-lapses, it’s worth it!
Something should move over time within your frame
When you shoot time-lapses, you generally want to ensure that something moves within your frame. What makes motion in time=-lapses pretty interesting is that we can usually not see these types of motion, because it happens too slowly.
A good example is cloud movement when you’re out in nature. But also the sun going up or down or shadows moving around over the day while the sun changes its position can be very interesting to film.
So definitely think about what will be the moving part within your frame, before you start shooting. Otherwise, it doesn’t make any sense to shoot a time-lapse.
Make sure the GoPro doesn’t move or get jitters
Shooting a time-lapse takes a long time (usually 0.5-multiple hours) and the shutter speed is oftentimes very low. So if your GoPro shakes or jitters during this time, you get bad results.
Shake in combination with long shutter speeds leads to blurry images and even with faster shutter speeds, you can see shake and jitters in the final time-lapse.
So definitely use a tripod (my recommendation is the PhotoPro Ufo 2) and keep your camera away from people and any other stuff that could cause shake.
If you can’t avoid it, you can oftentimes fix it in the post, by removing affected photos or by stabilizing the final video in your video editor.
Battery Life
Many people commented below my video with worries about battery life. The battery life of GoPro cameras is actually pretty long while shooting time-lapses. The reason is that GoPros turn their screens off when doing that.
So from my experience, you will totally fine below 3 hours. If your time-lapse takes longer, just connect it to a power bank to be saved.
Post Processing (from single photos to time-lapse)
Because we’re shooting single photos, we have to put them together into a video file after shooting the time-lapse. This requires a few extra steps but therefore the quality is really good.
1. Create Raw DNG photos with Adobe DNG Converter
At first, you copy all .jpg and .gpr files into a folder on your hard drive. It’s important, that you copy all files in the same folder.
Now you download and install Adobe DNG Converter. No worries, it’s free 😉
After that, you simply choose the folder with all the copied files in Adobe DNG Converter and this converter converts these files to .dng files. These are raw photos, which are often used in video production.
2. Drag the photos into your video editor
I recommend using Final Cut Pro X (awesome & fast), DaVinci Resolve (great, fast & free) or Adobe Premiere Pro (slow and buggy) to do the following steps. These video editors all support .dng files. With other video editors, it could happen that it doesn’t work.
In your video editor, you then create a project with pixel dimensions of 5568 x 4176. This is the exact pixel count of the photos coming out of the GoPro Hero 9.
In the free version of DaVinci Resolve, you can only edit in a maximum resolution of UHD (3840 x 2160 pixels). So here, you just have to create a project with this resolution. For that reason, it’s best to choose the right framing and add animations directly. If you first export in DaVinci and then want to do stuff like that later, you will lose quality (at least if you publish in 4K).
Now you simply mark all .dng files and drag them into the timeline of your video editor. Now all images should be in the timeline and be in the correct order. But the problem is, that each image is too long. So you have to mark all images and set the length to 1 frame.
In Final Cut, you do that by pressing CTRL + D and then 1. So that the timer below the video viewer becomes blue at first, and only shows 1 after pressing it. Then simply press return and all photos will be 1 frame long.
After doing that, you can already play the time-lapse and see the result.
3. Export the time-lapse into a high-quality video file
And finally, you can export the time-lapse. My recommendation is to export it into a ProRes file. I use ProRes 444 because these files have the lowest quality loss. So I can still do lots of color grading etc. later. But if you want smaller files, ProRes 422 will be totally fine. These files are also very easy to edit as they don’t require much processing power.
If you are on Windows, it can be that you don’t have the option to export to ProRes. In that case, look if you can export to DNxHR, which is a very similar format. If that’s also not an option, just export to MP4 or HEVC with 10bit and the highest bitrate possible. That also ensures that you lose less quality, but the files are harder to edit.
Crop in to remove the black bars in your final edit
If you were able to use the 5568 x 4176 pixel format, you will see, that the time-lapse has a 4:3 aspect ratio. So when you drag it into a 16:9 (4K UHD or 1080P) timeline, you will notice black bars at the left and right sides of the video. To get rid of that, simply zoom in to 134%.
That also allows you to add vertical animations.
Animate the time-lapse as needed
You can simply add vertical animations, by using keyframes on the vertical (y) position of the video. But as you have a lot more pixels than 4K, you can also add zoom- or horizontal animations by zooming in a bit more and adding keyframes.
Showing how to do this in detail would be a bit much for this article. Just google for the name of your video editor + keyframing to find out, how it works.
So overall, I can only say that shooting time-lapses with the GoPro Hero 9 is a lot of fun. This camera makes it very easy and having a 20MP camera of that size is just insane. So if you have this camera, definitely try it out by yourself.
Do you have any further questions? Leave it in the comments below!
Hunter
Awsome tips!!! Thanks a lot! Great job 🙂 We want more…
Pascal Basel
Thanks, more is coming 🙂
Bogdan
How do you set shutter to auto on timelapse? There is no shutter option on timelapse.
Pascal Basel
Try night lapse mode. There is 😉